For an upcoming ceramics project I wanted to produce some textured clay that looked believably like fabric.
I ran into the following problems
- Believable texture rollers weren't available for download or purchase.
- The displacement maps I found didn't look enough like real textiles when used in isolation.
- Following the tutorial, the vertex count and file sizes became enormous
- The top and bottom of the roller also became rounded off, making the first layers impossible to print without supports.
The full story
Couldn't find what I wanted
Texture rollers are used to create all sorts of patterns on clays (search "clay rollers") and also for creating scenery for table top games. But despite there being tons of texture rollers online, I couldn't find any good fabric textures available as prints and even what I could find for sale wasn't believably knit.
Making rollers with found displacement maps
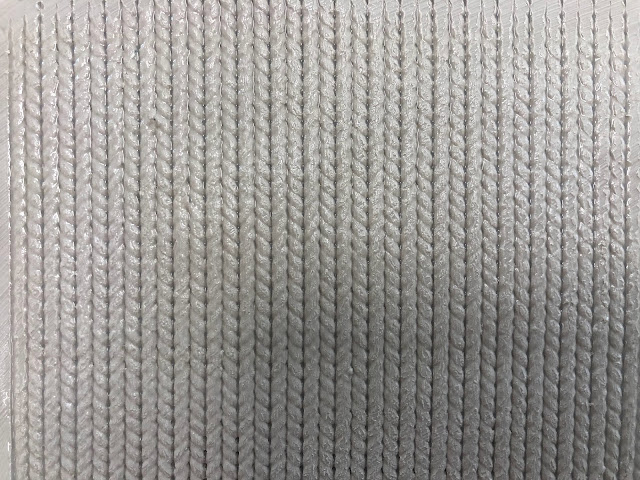
So I found this excellent tutorial and got to work. Finding the displacement maps was a bit harder than I anticipated. I found this free 'boucle' fabric on Poliigon and used the displacement map from that and even went as far as printing it and it's a cool texture but, in clay, doesn't really read well as fabric.
 |
| The results of the boucle roller |
It's a cool texture but in clay doesn't really read clearly as fabric. Next I tried the displacement maps from the 'chenille' and 'plain sheer' fabrics and neither one was very satisfying. I realized these textures were primarily made to be used for rendering a scene at a distance and the displacement maps were only one small part of the overall set of files for the texture to create a believable fabric.
I paid for a Poliigon subscription and tried the green vinyl displacement map with some success:

Creating my own displacement map
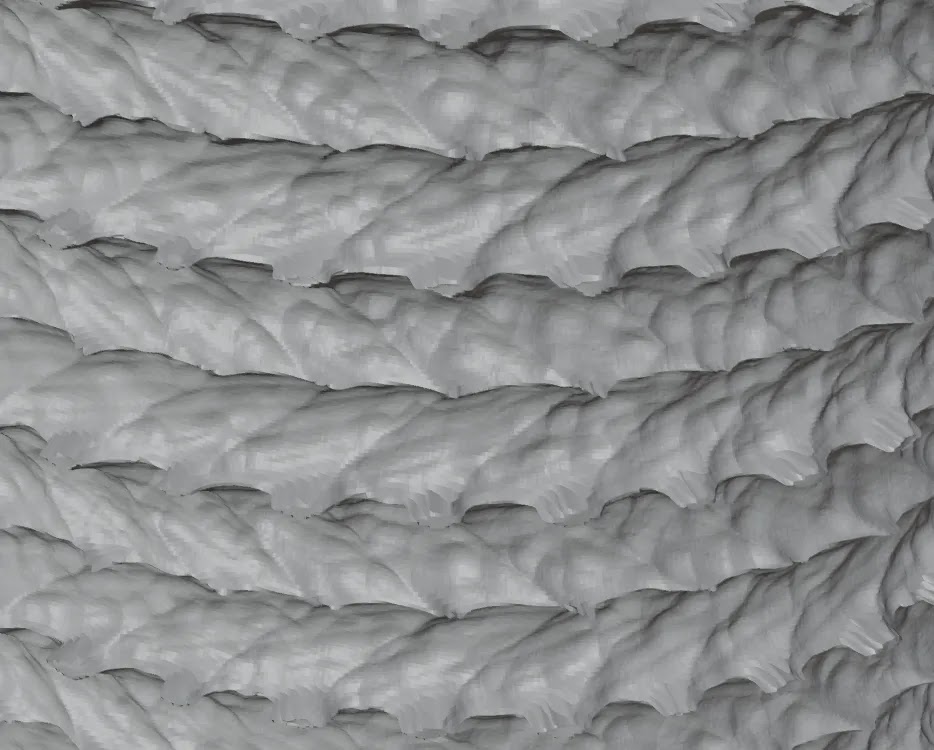
I ended up creating my own texture displacement map in Gimp (took a while!), based on tiling the small sample of displacement map from this very cool project.
 | |||
| The clay result of the knit (stockinette) roller. Wetting the clay helped prevent sticking. |
Changes from the tutorial to keep file size down and top and bottom flat
For all of the rollers, I struggled to keep the file size reasonable (e.g. one was 1.78GB before I realized what had happened), and I also struggled with avoiding rounding and protrusions at the top and bottom of the cylinders, making them a pain to print.
The keys were:
- Create a vertex group on the outside for the texture (like in the tutorial), but leave a little gap at the top and bottom
- Subdivide only that vertex group, not the whole thing. This can be done by selecting the vertex group (click the vertex group name in the side bar and click 'Select'), then right clicking in the editor, and selecting subdivide.
The result is the inside and top stay simple and sharp while the textured area has the vertices it needs.
 |
| The outside of the roller has a small lip at the top and inside and top have few vertices |
Comments
Post a Comment